
A Quick Tutorial
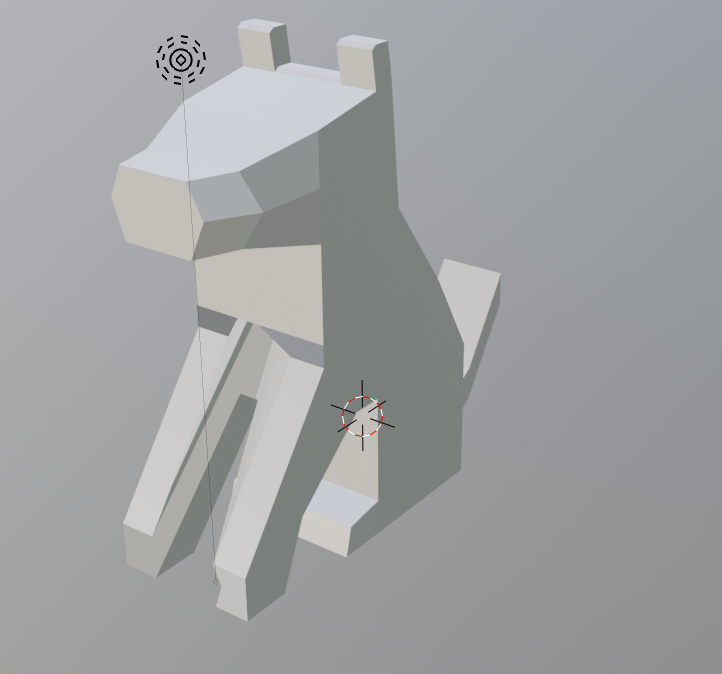
The first model I made in this style, using only these tools. Viewed in the ‘Shading’ View
Introduction and Getting Started
This tutorial uses four major tools to create low-poly animal models in blender:
Select Faces/Vertices
Subdivide Faces
Extrude Faces
Move Faces/Vertices
To get started, have Blender installed and open. I have Version 2.82a on a Mac. Select File > New > General.
You’ll have a cube brick of material in the center. Once you have this, select Modeling from the top menu.


Hold Shift and click on all of the faces you want to select. You can also add to an existing selection by holding Shift and clicking on more things.
SelecT Faces and Vertices
In the top left corner next to ‘Edit Mode’ there are three options, Vertex Select, Edge Select, and Face Select. This tutorial will use face select and vertex select. To select a face or vertex, have the correct selection mode activated. Then, you can click on a single vertex or face to select it. To select multiple vertices or faces at a time, hold down Shift and click on each one. If you have many vertices or faces in a row or cluster, you can also hold Shift and drag a square around the vertices or faces and it will select all of them. Be careful with this! You might select things you didn’t want.

Subdivide Faces
If you want to make an interesting shape (ie. something that isn’t a cube) in Blender, your first step will probably be to subdivide a face. To do this, select a face or a group of faces, right click on your selection, and choose ‘subdivide’. You should see it become a set of rectangles. Subdividing is useful because it cuts your selection into equal sized pieces. When I wanted to give my dog a tail, I subdivided it into sixteen pieces, and then used the middle two on the bottom to become the tail.


Extruding faces to create a tail

The move tool is this icon with four arrows.


Pointy ears vs flat top ears. The pointy ones are by putting the top vertices in the same place.
Extrude Faces
Extruding a face is useful for getting ‘more’ material to work with. When you’ve selected a face (or a set of faces) you can use this menu at the top and select Face > Extrude Faces. This will copy the selected faces with new blocks, which are the same height and width of the faces you had selected. They will be attached to your selected faces, and you can drag your mouse away or towards the selected faces to adjust the volume of your new blocks.
If you’re used to modeling with physical materials, it’s important to note that you want to think about things a bit differently here. It’s much easier to add more material here by extruding faces, but much harder to get rid of it! I recommend properly subdividing your faces BEFORE extruding faces.
Additionally, if you want to make a symmetric feature, like arms or ears, I recommend using the multi-select tool so that when extruding, your ears and arms end up the same length! Of course, real animals/humans have slight imbalances, so if you want to thoughtfully create an asymmetry, you can do that! There aren’t concrete rules here.
Move Faces/Vertices
So far, every technique I’ve shown here has demonstrated how to make very cubed/blocky characters, but in order to create most animals, you’ll want slopes and edges. You can do this by moving anything you select! You’ll want to play with this one a lot to see what’s possible. On left left side menu called move. You can move either vertices or faces in two ways: The red, green, and blue arrows allow you to move in a single direction. Click on the arrow, and then while holding that, you can move it in one direction or another, and release the mouse when you’ve found a good place. If you want more control and to eyeball it, you can also just grab one of the objects in your selection and move it around freely. This tool will move all of the selected vertices/faces, so be careful that you have all and only the faces/vertices you want to move!
While writing this, I wondered if I could achieve pointy ears. By moving many vertices to the same place, I was able to do this.
Putting it all together
These are all you need in order to create low-polygon animal figures! I suggest playing around with these tools a bit just to see how they work, and maybe googling ‘low-poly ____’ to look for a reference if you want to try your first project! Keep in mind that this ends up making block-style things, so while curves are difficult, most angular and pointy things are possible. Good luck!
Do you have any feedback on this tutorial? Further questions? Let me know!